
If you’re looking to enable crypto payments in your online or in-person business, check out WalletConnect Pay, our all-in-one payments solution. Learn more in the WalletConnect Pay docs →
Quickstart
This feature will start working as soon as your team is on the allowed-list. Contact us via our form here to get started.Usage Options
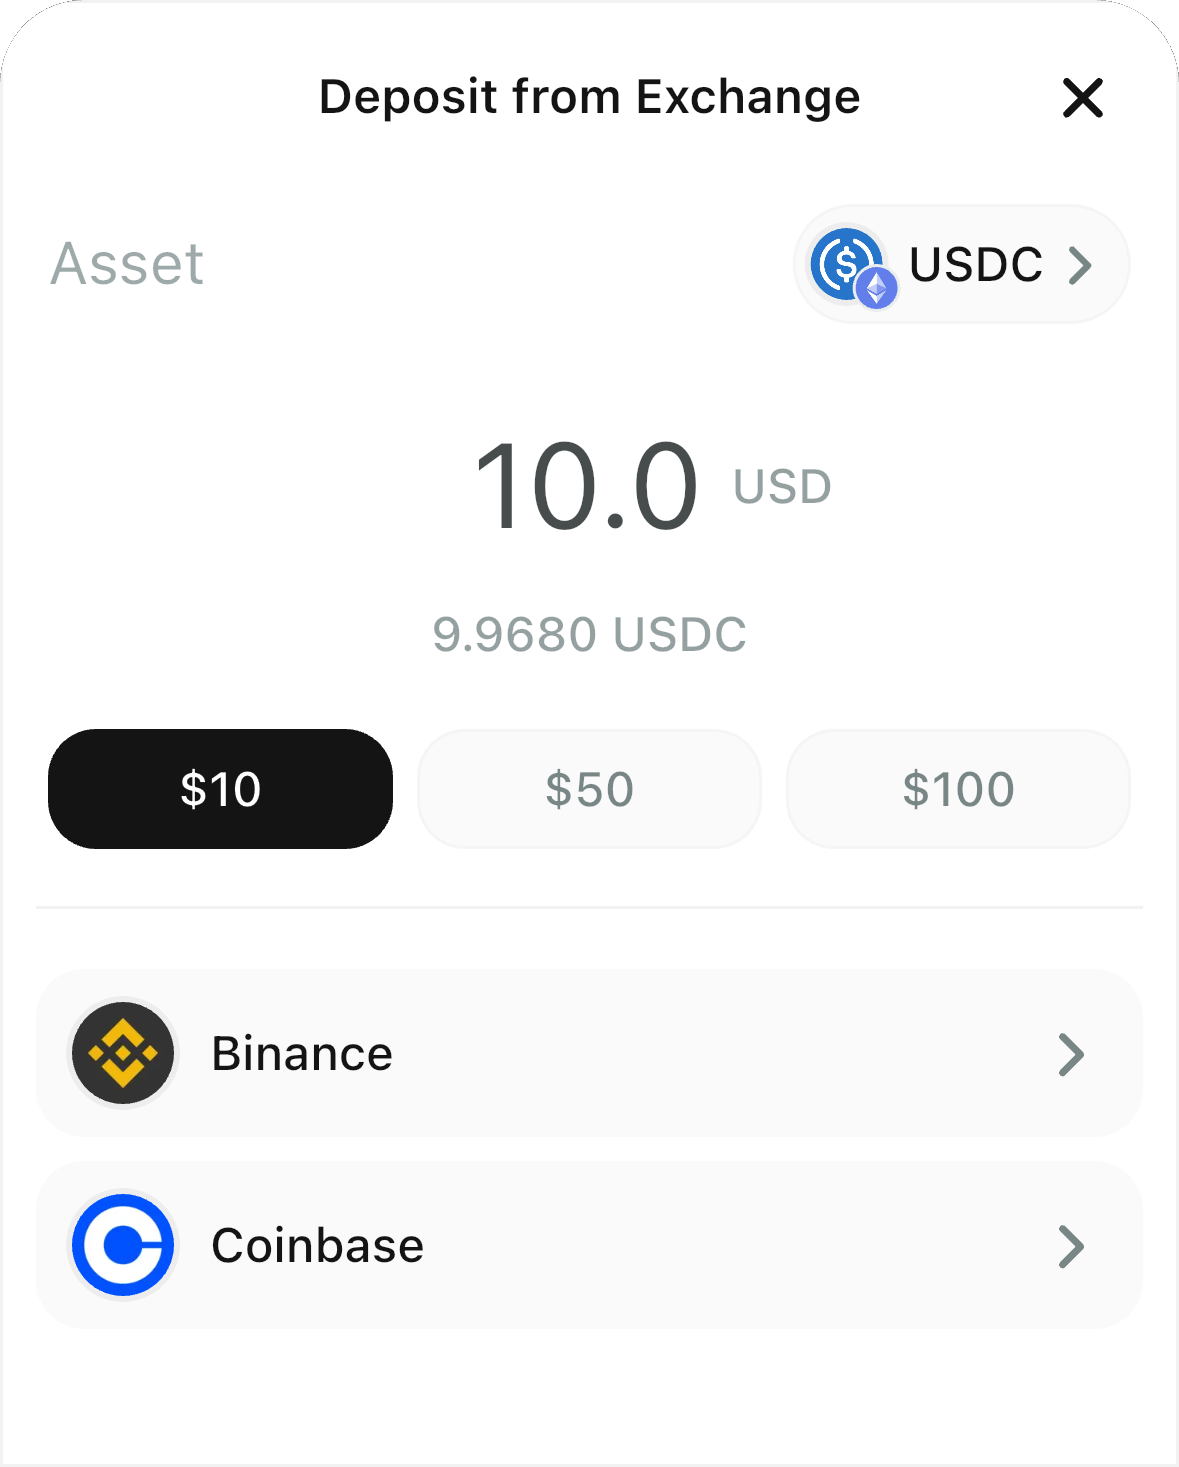
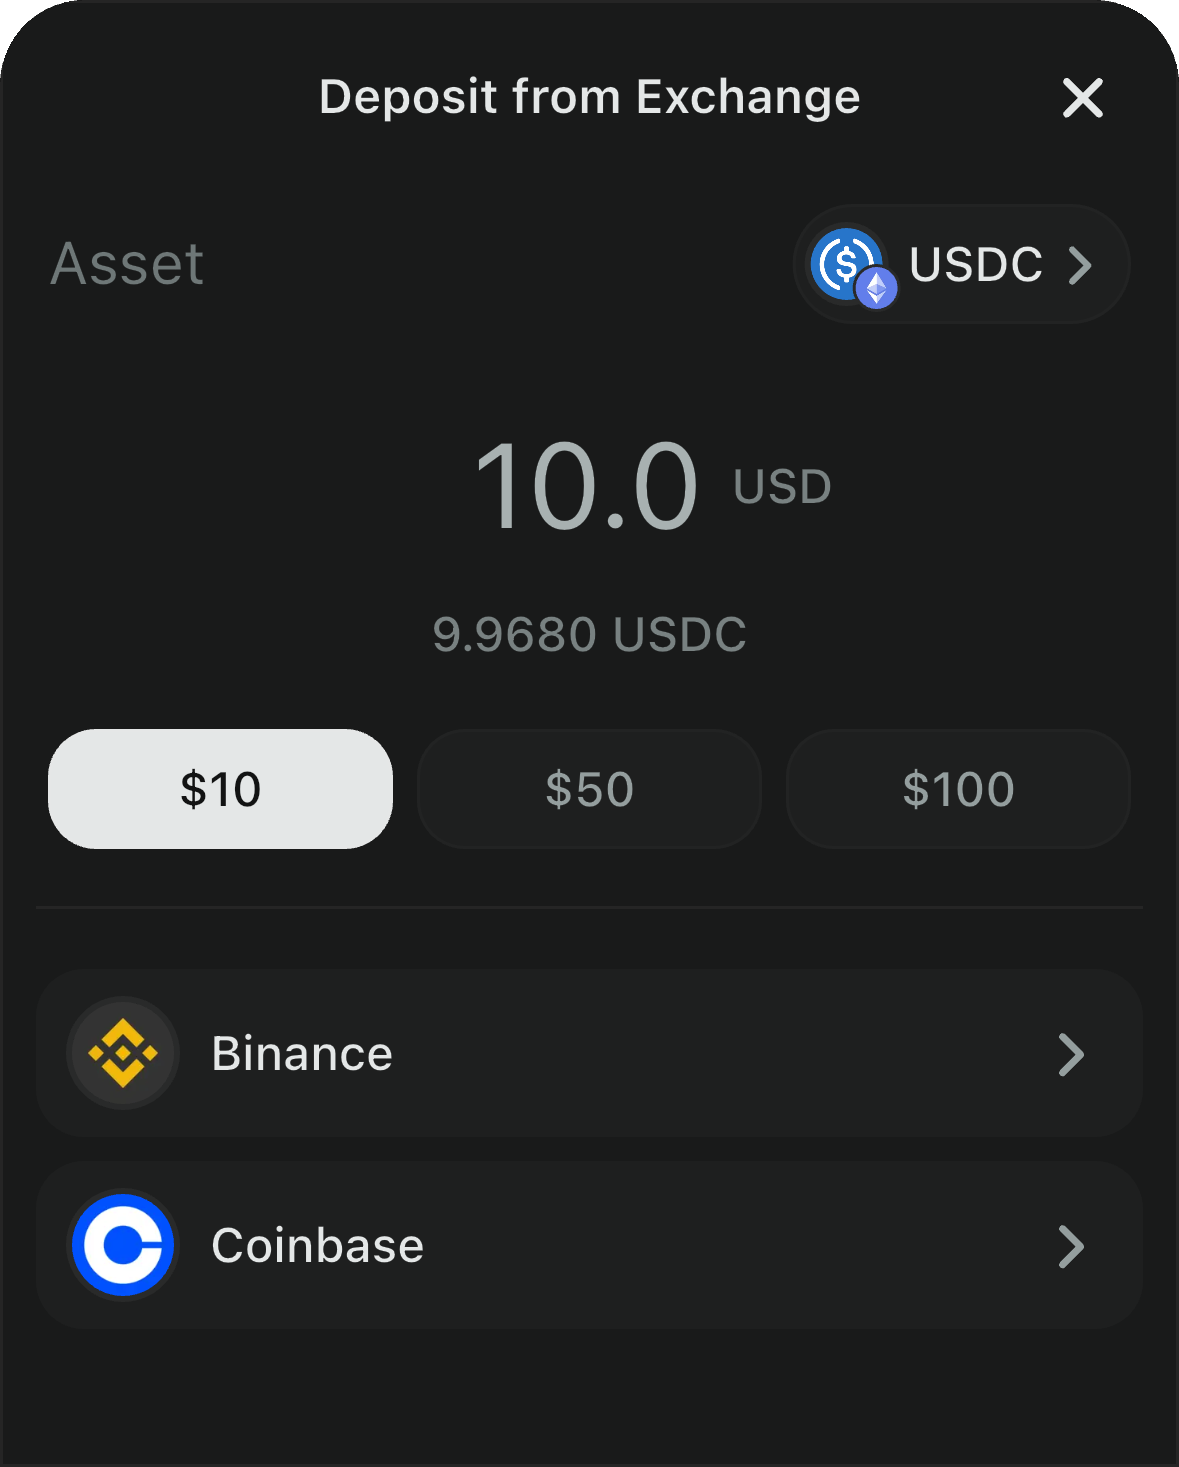
There are two ways to use Deposit from Exchange:1. Built-in within AppKit (No extra code required)
After enabling the feature, it’s automatically available within the AppKit modal. Users can access it by:- Connecting their wallet through AppKit
- Opening the Account Screen
- Clicking on the “Fund wallet” button
2. Stand-alone feature (Programmatic control)
If you want more control over when and how the deposit flow is triggered, you can use it as a stand-alone feature. This allows you to:- Open the deposit screen from anywhere in your app
- Pre-configure assets, recipients, and other options
- Listen to deposit success events
- Get available payment assets based on the network:
includeTest: will include or exclude testnet assets (e.g., Sepolia, Base Sepolia). These are included by default.
- Configure the feature (if desired):
- Open the modal on Deposit Screen:
- Listen to deposit success events:
As a standalone option you can also use this feature in a headless (no UI) version
Instance creation
Create aReownAppKit instance and initialize it (as with any other AppKit usage).
Initialize the SDK
After creating the instance, initialize it.Supported Assets
Currently the feature works with a set of supported assets. You can use the following function to filter them according to your needs.Get Supported Exchanges
Whether you previously selected a supportedasset or not, the next step is to get all the supported exchanges. If asset is provided, the response will include only the exchanges supporting that particular asset.
GetExchangesParams also accepts includeOnly and exclude parameters to filter the getExchanges response. Example:
GetExchangesResult contains a list of exchanges (List<Exchange>) and the total number of them.
Payment URL
After the user selects the Exchange to fund their wallet from, it’s time to get the payment (funding) redirect URL with params:- Selected
Exchange⇒ id - Selected
ExchangeAsset - Amount to fund
- Your wallet address in CAIP-10
sessionId (relevant later to check the status of the transaction/funding) and the payment URL.
At this point, your dApp will launch this URL on the user’s device, and the Exchange App will be launched if installed; otherwise, their default browser will open to log into the exchange and fund.
Status Check
Once the user completes the transaction on the Exchange side, they should return to your dApp and wait for the confirmation status.The recommended approach here is that, right after the user launches the payment URL, your dApp starts to query the confirmation status in a loop with a 3-second delay between each request, until a terminal status is received (or your own timeout logic is triggered). The SDK uses a maximum of 30 polling attempts by default.
status are: UNKNOWN, IN_PROGRESS, CONFIRMED, FAILED
- UNKNOWN: Transaction has not been submitted yet
- IN_PROGRESS: Transaction submitted, checking confirmation
- CONFIRMED: Transaction confirmed, payment successful,
txHashwill be provided along with this status - FAILED: Transaction failed