In this recipe, you will learn how to:
- Retrieve the balance of the connected wallet.
- Sign a message using a connected wallet.
- Send a transaction to the Solana blockchain.
Prerequisites
- A fundamental understanding of JavaScript and React.
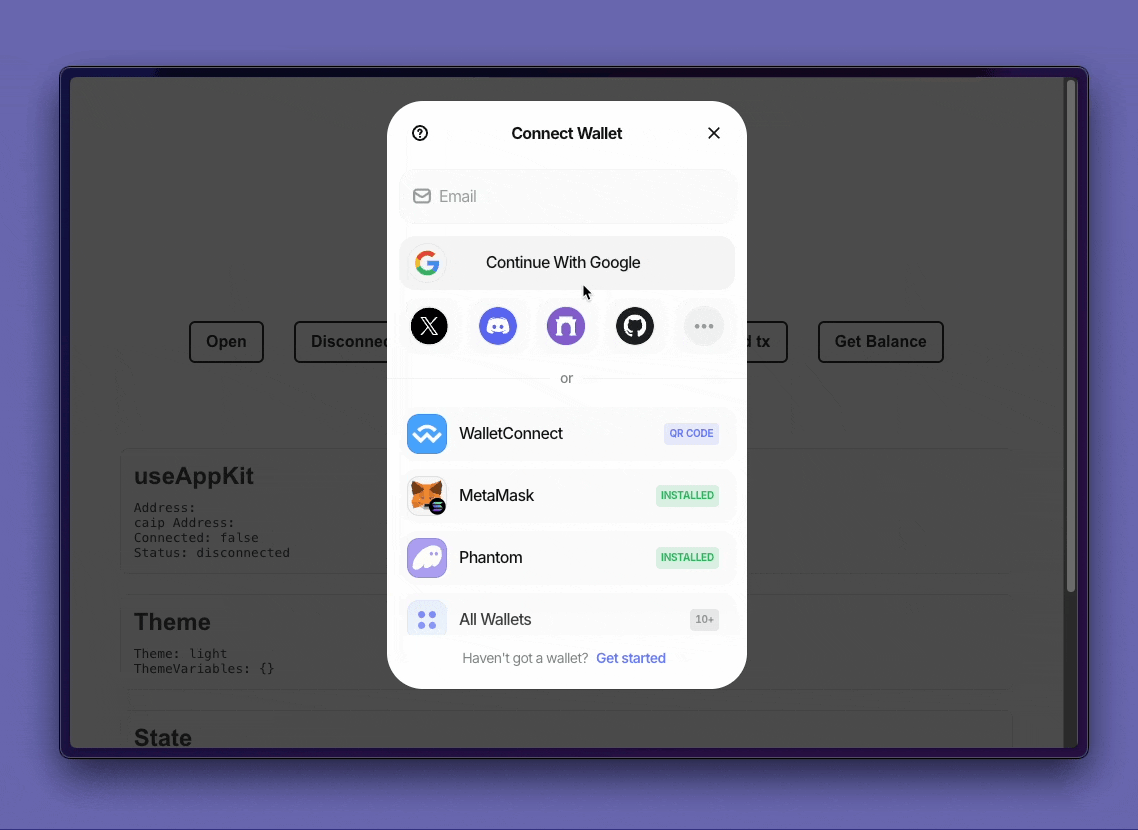
- A minimal installation of AppKit in React.
- Obtain a new project Id on Reown Dashboard at https://dashboard.reown.com
Final project
Appkit Example for Interacting with the Solana Blockchain
Clone this Github repo to try it out locally.
AppKit Minimal Installation
You can start a small project following the guidelines from our installation React docs using SolanaStart building
In this guide, we are going to use the library @solana/web3.js to make the calls to the Solana blockchain and to interact with the wallet. First, install the required dependency:Get Balance
Fetching a user’s balance is straightforward using the Connection object from Solana.- Start by importing the
useAppKitConnectionhook from the solana Adapter, theuseAppKitAccountAppKit hook to get the account information andPublicKeyfrom the solana/web3 library.
- Use the hooks to retrieve the connection Solana object, the user’s address and check if they are connected.
- Create a function to fetch and display (in console) the balance when triggered
- Finally, in order to call the function you can show the button in a component when
isConnectedistrue
Sign a message
In order to raise the modal to sign a message with your wallet. You can follow these steps:- Start by importing the
useAppKitProviderhook.
- Extract the
walletProviderfunction from theuseAppKitProviderhook. This function allows you to prompt the connected wallet to sign a specific message. Also theuseAppKitAccountAppKit hook to get the address and isConnected as explain before.
- Create a function to prompt the modal for signing the message.
- Finally, in order to call the function:
Send a transaction in Solana
In order to raise the modal to sign and send a transaction with your wallet. It’s a bit more complex, but you can follow these steps:- Start by importing very similar packages from the previous examples and also the Transaction and SystemProgram object from solana/web3.js library.
- Use the
useAppKitAccount, useAppKitConnection and useAppKitProvider AppKit hooks to get the connection object, the walletProvider and the address from the user.
- Create the function to raise the modal to send the transaction
- Finally, in order to call the function: